
Filofax Personal Willow Planner Set Up 2015


I was quite happy with my Moleskine Monthly set up. However, as my Notes sections grows, I started to think a ring binder system would suit better so that I wouldn’t have to worry about transferring notes from diary to dairy each year. I tried using my Kikki K Dark Mint Medium, which is so beautiful. The problem with that (for me right now anyway) is that Kikki K is a bit too big and bulky for my summer handbags as I tend to carry a smaller bag in summer. The solution came when I had a random browse in Ryman Stationeries the other day and I saw their Filofax series were on sale!  So I picked up the Personal size in Willow right away as it was reduced from £30 to £20, with all the inserts included!!

Filofax Personal Planner is slimmer than a Kikki K Medium as the rings in Filofax are smaller. It’s the maximum thickness for me in the summer. I want to share with you of how I set mine up. Hopefully you might find a few tips and tricks that would help you to organise your planner.


Pen
I use a 0.35mm gel pen which I bought from Planner Lust on Etsy (Check out what else I bought!). The purple daisy is so cute and I love the fine tip of the gel pen.

Front Pockets
When open up, on the left hand size pockets, I keep cute paperclips for decorations, and cute page flags to use and to decorate.
Dashboard
On the right hand size comes to the first page of the content. Most planner girls would use it as a Dashboard where they would put sticky notes etc on it. My habit is to keep stickers at the very back (which you will see later). I put a cute Project Life card as my first page. I stick it down with washi tape so that I can remove the card and change to a new one easily.
The Content
The dividers that I use is the set that comes with my Kikki K Dark Mint. The colour scheme fit perfectly with the Willow!

The 1st tab is CALENDAR – I use the Filofax weekly schedule that comes with the Willow.
2nd tab is called “TRACKERS” – in this tab I keep everything that I need to keep a log for. My Little Box Subscription, my online shopping orders, coupon codes that I have etc. I made the inserts myself to suit my needs.
3rd tab is called “INSPIRATION” – this tab I keep all info about my blog. I have a monthly calendar to track and plan which day for what blog posts. I use a blank Filofax page to store my little post-it notes so that I can jot down blog ideas, and move them around when I decide to do them.
4th tab is my “NOTES” section – It’s for general notes that doesn’t fit in with the previous tabs. I also keep spare pages, blank to-do list and blank contact page in here.

5th tab is blank at the moment – it’s a spare section that my planner can grow into.
6th tab is my “STICKERS” tab – it’s the most interesting section!
First few pages of stickers are from Kikki K Dark Mint.
Next I have two sheets of bow stickers that I use them often as “dots” for appointments. I hole-punched them so that I can fit them in as sheets.
Next I have a 6-business card holder from Filofax where I keep little stickers. They are either sample stickers from Etsy or I cut them out from a bigger sheet. I love keep little bits that I can use if I need to.
Then I have two bigger pockets to keep more sticker sheets. One of them comes with the Willow, the other one I bought a pack of 5 clear pockets and hole punched it myself to fit into the planner.
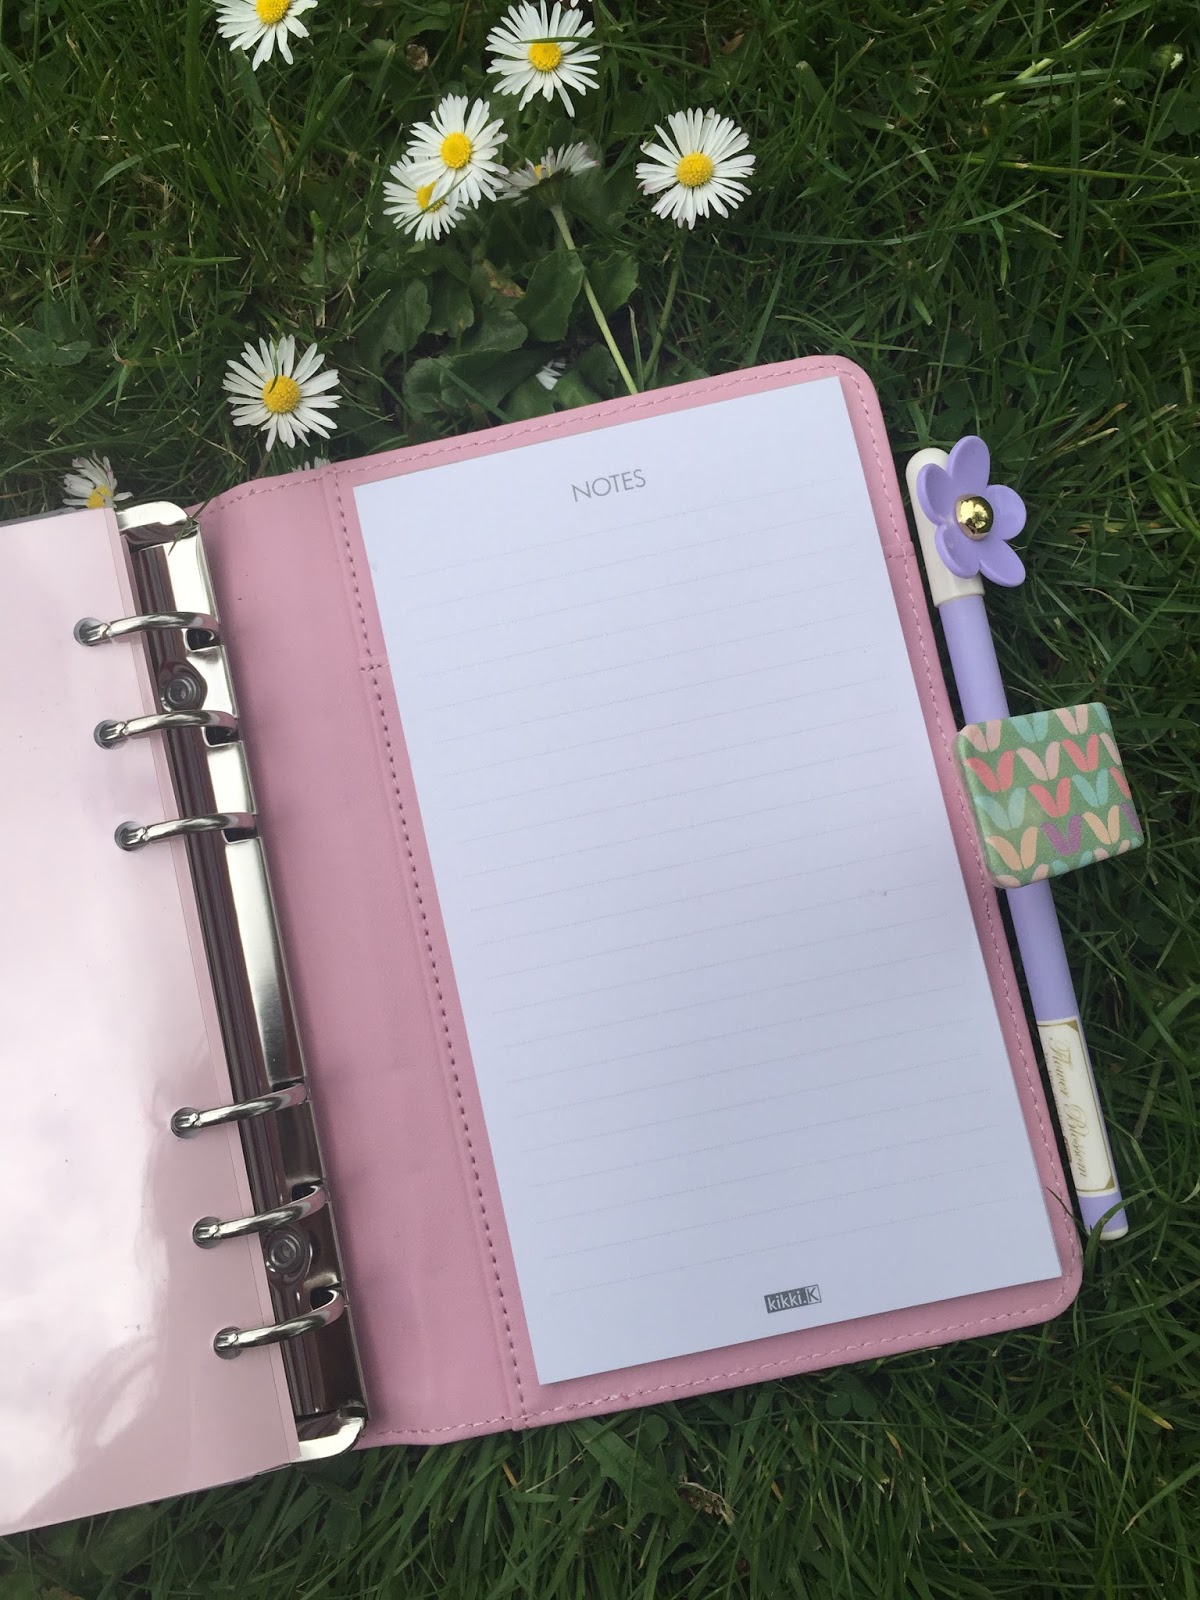
At the back of the planner I currently keep the notepad that from my Kikki K. I am not sure if it is of any use but it’s quite neat in there for now.

I love the set up of my Willow. It personalises to my use. It has spare section that my planner can grow into. I particularly love the stickers organisation. The 6 business card holders is such a perfect way to store little stickers that are needed on the go.


How do you set up your planner? What useful tips and tricks that you have picked up along the way?


My other planner related posts:


Comments

Popular posts from this blog

Tuesday means... Steak night at Wetherspoon!

"Are you serious?" I know what you are thinking. Wetherspoon pubs have revamped their menu and food quality, but the price has stayed low.

Budget Buy: MUA nail polish in Natural Days

When I was in Superdrug to buy the Tiffany colours (NYC nail polishes  - check out my blog post here ), as the offer was 3 for 2 across all nail polishes, I picked up a MUA polish as my freebie. I saw this pastel baby pink colour in Natural Days. The colour looks really cute in the bottle.

Estee Lauder Enlighten Dark Spot Correcting Night Serum

Lately I have been obsessed with the Estee Lauder Enlighten Dark Spot Correcting Night Serum . In the past I tried the Kiehl’s Clearly Corrective Dark Spot Solution, it was alright but I didn’t find the result that amazing. So when I got a sample of for this Estee Lauder Enlighten Serum, I didn’t have high hopes … But how wrong I was! The sample bottle lasted me for two generous weeks and after that I rushed out to get the full size. Although it is called a serum, it is a light milky lotion texture, it is easily absorbed into skin and it feels moisturising. With the sample bottle, I used it every night after my cleansing routine. I can see visible results to my face after two weeks. My blemish marks are significantly lighter (my main concern) and the skin tone for the rest of my face is visibly more even.  Now I have the full size bottle (30ml, also available in 50ml size), I am going to follow the instructions to use it both day and night. Use it at night to reduce